
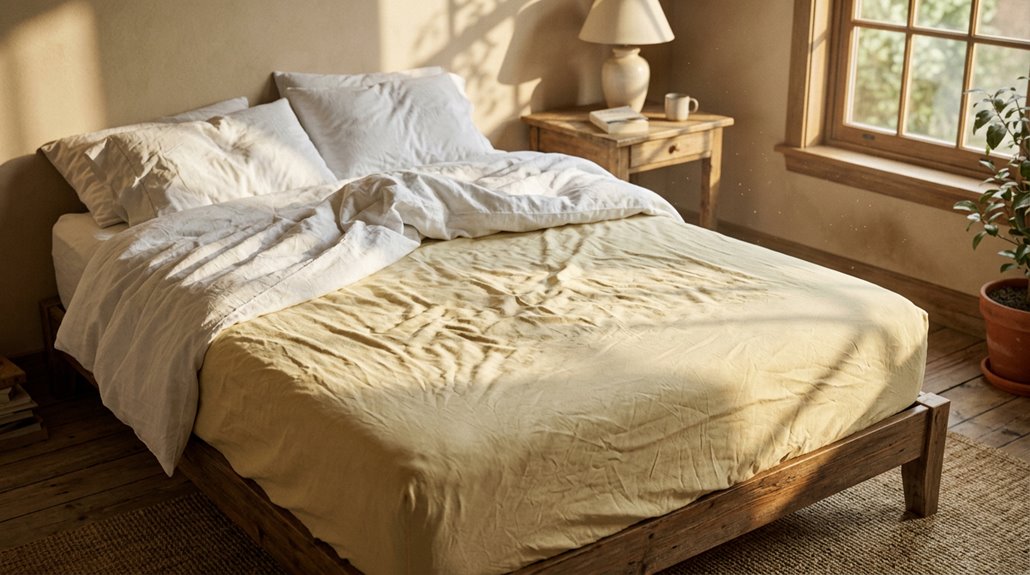
Your mattress yellowed because sweat, body oils, and urine have bonded to the fabric over time, oxidizing into rust-colored patches where you sleep most. This phenomenon occurs more rapidly in humid climates or with heavy sweaters.
The culprit isn’t always obvious; sometimes it’s sebum buildup, or it may be old spills that invited mold growth.
The good news is that most stains respond to enzymatic cleaners or a hydrogen peroxide and baking soda combination.
Continue reading to learn how to effectively tackle your specific issue.
Understand What Causes Yellow Mattress Stains

Why is your mattress turning that shade of mustard? It’s usually a combination of factors.
Sweat and body oils transfer directly from your skin onto your bedding and the mattress itself. Over time, sebum oxidizes, creating stubborn yellow spots in high-contact areas. There are also biological influences to consider. Urine stains from accidents or pets contain urochrome pigments that bond permanently to fabrics.
Spills can contribute as well. Coffee, tea, and juice can bleach fabrics unevenly, resulting in light to dark yellow marks. Adding moisture to the equation invites mold growth, which compounds yellowing and mattress discoloration.
Natural oxidation and material aging further amplify these issues as your mattress gets older. Regular maintenance can help mitigate these effects.

Certified Gentle & Safe Pet Carpet Cleaner Solution: Chlorine free, color safe, no hazardous propellants or residue; safe to use around pets and children; certified safe for all carpets with a Seal of Approval by the Carpet and Rug Institute (CRI)

STAIN AND ODOR REMOVER: Clorox Urine Remover for Stains and Odors breaks down urine to eliminate odor, not mask it, while the powerful hydrogen peroxide cleaner removes stains

Eliminates Stains, Odors & Residue: If it's gross, it's gone — blowouts, urine, vomit and other organic spills disappear, leaving a subtle Meyer lemon scent that quickly dissipates
Sweat and Body Oils: Why They Turn Mattresses Yellow

Oxidation is the real culprit behind those stubborn yellow stains that I struggled to remove from my mattress for years. Here’s what happens: I sweat about a pint nightly, and that moisture combines with my body oils and sebum, seeping deep into the mattress fibers. Over time, these clear liquids oxidize, creating rust-colored patches centered on my contact areas. The staining intensity depends on how much I sweat, my bedding’s absorbency, and room humidity. I’ve noticed that the heaviest yellow stains cluster wherever my body presses most—shoulders, lower back, and hips. Regular sheet cleaning helps tremendously, but a waterproof mattress protector significantly reduces direct sweat and oil transfer. This has proven to be one of the best investments for extending my mattress’s lifespan.

POWERFUL HYDROGEN PEROXIDE: This Hydrogen Peroxide cleaner is combined with plant based ingredients to create a powerful household cleaner and stain remover.

HYDROGEN PEROXIDE FORMULA: Utilizes a super stable hydrogen peroxide base to deliver powerful, effective carpet stain removal results.
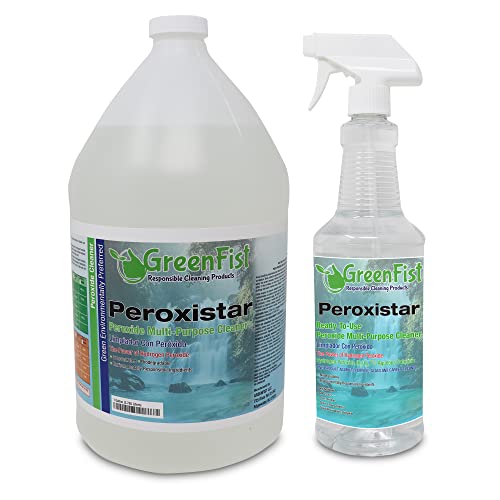
ALL IN ONE FORMULA - One Product as Multipurpose,Glass,Stain,Restroom,Grout,Sinks,Tubs,Showers and Carpet Cleaner.
Urine and Bodily Fluids: Hard-to-Remove Stains

If you’ve dealt with urine stains on your mattress, you know they’re quite different from sweat. Urine contains proteins and salts that bind aggressively to fabric, making yellow discoloration and odor tough to eliminate. For fresh accidents, tackle them immediately. First, blot the excess moisture, then apply an enzymatic cleaner that breaks down those organic compounds. Dried urine is more challenging; the liquid has already penetrated deep into the fibers, requiring repeated treatments for removal. Enzymatic cleaners are generally more effective than vinegar-based solutions for stubborn spots. Additionally, if you don’t thoroughly dry the area afterward, you risk inviting mold. Prevention is always more effective than remediation.

【Gentle Cleaner for Latex Pillows】This 500ml spray is specifically designed for spot cleaning light sweat stains, oil marks, and dirt on latex pillows and bedding...
Why Mattresses Yellow: Natural Oxidation and Aging
Aging materials naturally lose uniformity. I’ve accepted that my mattress yellowing isn’t a personal failure; it’s simply what occurs when you use it regularly.

SAFEGUARD YOUR INVESTMENT: Keep your expensive mattress in pristine condition with our Premium Queen Bamboo Mattress Protector. Our ultra-soft mattress cover protects from dirt, water and normal wear & tear, so it stays clean and comfortable.

Unique Style: Stand out with our classic quilted design. It locks in filling for even support and helps regulate temperature—stylish and practical
SAFEGUARD YOUR INVESTMENT: Keep your expensive mattress in pristine condition with our Premium King Bamboo Mattress Protector. Our ultra-soft mattress cover protects from dirt, water and normal wear & tear, so it stays clean and comfortable.
Rust From Moisture Exposure
Water can ruin your mattress, and I learned this the hard way. When moisture seeps into your mattress, it reaches the metal coils underneath, triggering oxidation that creates rust stains. I watched as reddish-orange spots spread across my mattress, clear signs of corrosion taking hold.
Prolonged moisture exposure accelerated the rusting process, deepening the discoloration and releasing that distinct metallic odor. The staining didn’t stop; it crept outward from the coil area like an unwelcome guest.
I wish I had acted sooner. Control humidity levels in your bedroom, invest in a breathable mattress protector, and address leaks immediately. Prevention is more effective than replacement. If rust is already present, you may need to replace the damaged coils or the entire mattress to prevent further structural damage.

Eliminates & Helps Prevent Mold: Destroys existing mold at the source and forms an invisible barrier that helps prevent future growth.
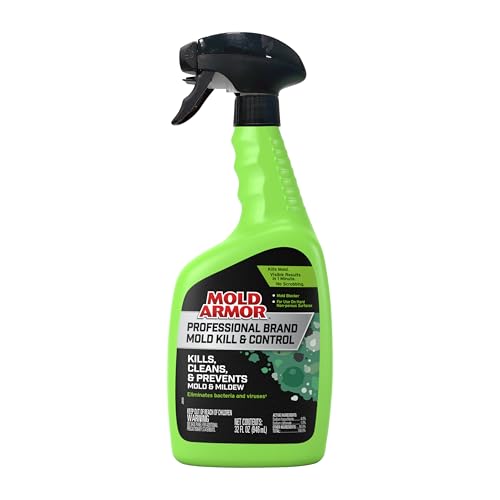
KILLS, CLEANS & PREVENTS MOLD AND MILDEW: Kill and clean up mold and mildew on your hard, non-porous surfaces with MOLD ARMOR Professional Brand Mold Kill & Control.

Tackle Mold, Vomit, and Severe Stains
I’ve dealt with challenging mattress situations, including mold from humidity, vomit stains that produce unpleasant odors, and stubborn yellow patches from sweat and body oils. All of these issues are fixable if addressed promptly. It’s important to know the correct removal steps for each stain, along with effective prevention methods to stop mold from returning and to keep severe stains from becoming permanent. Let’s go through what works, as replacing a mattress over something preventable is wasteful.

STAIN AND ODOR REMOVER: Clorox Urine Remover for Stains and Odors breaks down urine to eliminate odor, not mask it, while the powerful hydrogen peroxide cleaner removes stains

SPOT STAIN & ODOR REMOVER: Begins to break down and remove stains immediately on contact.

SPOT STAIN & ODOR REMOVER: Begins to break down and remove stains immediately on contact.
Mold Growth Prevention Methods
How’s this for a wake-up call: you’re lying in bed, nose buried in your pillow, when you catch that telltale musty smell, and suddenly you’re wondering if you’ve been sleeping on a science experiment. I’ve been there, and it is not fun.
Moisture control is your best defense against mold growth prevention. I keep a dehumidifier running in my bedroom year-round, especially during humid months. After accidents like vomit, I immediately clean the area thoroughly and then let it dry completely. No shortcuts here.
Those yellow stains and musty odor indicate that your mattress needs intervention now. Properly drying mattress surfaces prevents mold signs from appearing. If you spot extensive damage, mattress replacement is a safer option than the health risks associated with mold exposure. Protect yourself and take these warnings seriously.
Vomit Stain Removal Steps
The moment you discover vomit on your mattress, you have a narrow window—maybe 24 hours—before that stain sets in permanently and starts breeding mold. I’ve learned this the hard way. First, scoop up solids immediately and blot excess moisture. Then, spot-clean the area. Baking soda becomes essential; sprinkle it generously to absorb both moisture and that awful sour smell. After allowing the baking soda to sit for several hours, vacuum thoroughly and wipe the spot clean. Complete drying is crucial; I use fans and open windows to help neutralize odors. If a musty smell lingers after 48 hours, mold is likely growing underneath. At that point, consider professional help or replacement. Do not skip drying.
Severe Stain Treatment Options
When you’re facing a stain that won’t budge—dark, stubborn, and smelly—you might be dealing with more than just a surface issue. I’ve learned this through experience.
If mold growth is present, I treat it aggressively. That damp, musty smell indicates a moisture problem, which requires addressing both the stain and the source. For urine stains, I opt for enzyme cleaners combined with vinegar; they break down the odor-causing elements rather than just masking them.
Next, I use baking soda generously, allowing it to sit for hours or even overnight. The key is to perform multiple cleaning rounds with thorough drying in between each one. Moisture retention can worsen discoloration and encourage bacterial regrowth. If mold is extensive, replacing the affected area is often more effective than continuous scrubbing. Sometimes, recognizing when to stop is beneficial for your well-being.
How to Prepare Your Mattress for Cleaning
I’ve learned that you can’t just spray cleaner on a mattress and expect good results; proper preparation is essential. Start by stripping everything off, including bedding, protectors, and removable covers. Open a window or turn on a fan for ventilation, and test your cleaner on a hidden corner before addressing any visible stains. Taking these five minutes at the beginning can save you time and money on ineffective products.

ALL IN ONE FORMULA - One Product as Multipurpose,Glass,Stain,Restroom,Grout,Sinks,Tubs,Showers and Carpet Cleaner.

POWERFUL HYDROGEN PEROXIDE: This Hydrogen Peroxide cleaner is combined with plant based ingredients to create a powerful household cleaner and stain remover.
Remove Bedding And Protectors
Before you can tackle those stubborn yellow stains, you need to strip your mattress bare. Remove every sheet, blanket, pillow, and mattress protector. Check your manufacturer’s guidelines for the removable cover; some warranties do not cover DIY removal.
Once the bedding is cleared, open a window wide. Ventilation helps eliminate lingering odors and speeds up drying. With the cleaning surface fully exposed, you have complete visibility of the stain areas.
Gather your supplies nearby—vacuum, baking soda, upholstery cleaner, towels—everything within arm’s reach. This setup is important. Stain exposure combined with proper accessibility ensures you won’t miss a single yellowed spot. This preparation is crucial for effective cleaning.
Ventilate And Test Cleaners
Good ventilation isn’t just nice to have; it’s essential for your cleaner to work effectively. Stuffy rooms trap odors and prevent solutions from drying properly, which means those yellow stains can linger longer than necessary.
Before I tackle any mattress stains, I always:
- Open windows wide or run a low-powered fan to circulate air and reduce odor buildup.
- Test my chosen cleaner on a hidden mattress spot first; I’ve faced discoloration issues in the past.
- Check manufacturer guidelines for safety testing, especially with removable covers.
This cleaning test phase is crucial. I spot-check a corner where nobody will notice if something goes wrong. It has saved my mattress maintenance routine numerous times. Being cautious is a smart approach.
Remove Yellow Stains With Hydrogen Peroxide and Baking Soda
When I first tackled my mattress’s stubborn yellow stains, I discovered that hydrogen peroxide and baking soda are effective solutions that are likely already in your cabinets. My go-to formula is to mix 8 oz of water, 8 oz of hydrogen peroxide, and 2–3 drops of dish soap. First, I sprinkle baking soda directly on the stained area and let it sit for 15 minutes. Then, I spray my solution until the spot is damp—never soaking—and reapply baking soda generously. I let it sit for several hours or overnight for maximum odor deodorization. Finally, I brush it in, vacuum thoroughly, and wipe with a slightly damp rag. Repeat as needed. Always test on a hidden spot first, as urine stains can be surprisingly stubborn.
Clean Urine, Sweat, and Vomit Stains
The hydrogen peroxide method I just walked you through works well for surface-level discoloration. Urine, sweat, and vomit stains present a greater challenge.
These stubborn stains require a multi-step approach:
- Act fast on urine stains: blot excess liquid, spray a 1:1 vinegar-and-water solution, then layer baking soda generously.
- Tackle sweat yellowing: recognize that nightly moisture (up to a pint) plus sebum create deep-set discoloration, necessitating repeated treatments.
- Handle vomit immediately: scoop solids, blot thoroughly, then spot-clean before odors set permanently.
The key is patience. Thorough drying between applications is essential. Combining hydrogen peroxide with baking soda absorption effectively eliminates both stains and odors. Multiple treatments may be necessary, so layer your efforts for the best results. Your mattress will benefit from this approach.
SAFEGUARD YOUR INVESTMENT: Keep your expensive mattress in pristine condition with our Premium Full Bamboo Mattress Protector. Our ultra-soft mattress cover protects from dirt, water and normal wear & tear, so it stays clean and comfortable.

Unique Style: Stand out with our classic quilted design. It locks in filling for even support and helps regulate temperature—stylish and practical
Unique Style: Stand out with our classic quilted design. It locks in filling for even support and helps regulate temperature—stylish and practical
When to Use Enzyme Cleaners vs. Homemade Stain Removal
Should you reach for that bottle of enzyme cleaner or mix up a batch of hydrogen peroxide and baking soda? It depends. When tackling organic stains like sweat and urine, enzyme cleaners are my go-to. They break down proteins effectively and minimize residue and odors. I spray, wait 30 minutes, then blot dry. It’s straightforward.
Homemade solutions work well when I’m budget-conscious or when enzyme products aren’t available. I mix hydrogen peroxide with baking soda and dish soap, though I always test on a hidden area first.
One caveat: I never combine vinegar with certain enzyme formulas, as they can conflict. It’s important to read your product label carefully. For fresh stains, either method works. For stubborn stains, I reach for enzymes every time.

FAST ACTING - DWD2 Clean Air Protect Home & Commercial Mold-Odor Treatment Fogger contains powerful plant extracts and potent ingredient formulation that neutralizes odors fast.

POWERFUL ODOR ELIMINATION - Utilizes chlorine dioxide (ClO2) vapor to destroy odors caused by mildew and bacteria at the source, ensuring a fresher and cleaner environment

ELIMINATES MILDEW ODORS - Effectively reduces odors associated with mildew and mustiness in enclosed spaces when used as directed
Protect Your Mattress From Future Stains
Once you’ve tackled those yellow stains, I won’t let you slip back into bad habits. I’ve learned this the hard way. Here’s what works:
- Invest in a waterproof mattress protector; it’s your first defense against sweat, spills, and bodily fluids that cause yellowing.
- Wash bedding regularly; clean pillowcases and sheets weekly, and protectors every 2–3 weeks to prevent sweat and body oils from embedding.
- Schedule professional cleaning twice yearly; this removes deep moisture and dirt that homemade solutions miss.
I also stopped eating in bed and keep pets off entirely. Choosing breathable fabrics like cotton and linen significantly reduces excessive sweating. These practices not only prevent stains but also help maintain a fresh odor and extend the life of your mattress. Your future self will appreciate these choices.
Know When It’s Time to Call a Pro (or Replace Your Mattress)
Most DIY cleaning efforts work wonders, but I have learned that some yellow stains won’t budge no matter how much baking soda and vinegar you use. This is actually your mattress sending you a signal.
| Warning Sign | Action to Take |
|---|---|
| Persistent yellowing after multiple cleanings | Call a professional or replace |
| Musty odor + visible mold growth | Replace immediately |
| Rust staining from corroded springs | Professional assessment needed |
| Damp feel + structural sagging | Replace soon |
| Odors persisting after thorough drying | Professional cleaning required |
Chronic yellowing combined with moisture, a damp feeling, or sagging indicates that your mattress has reached its end of life. Deep-set stains, microbial buildup, and embedded discoloration from aging materials require professional intervention or replacement. Your sleep quality and hygiene depend on addressing these issues promptly.