
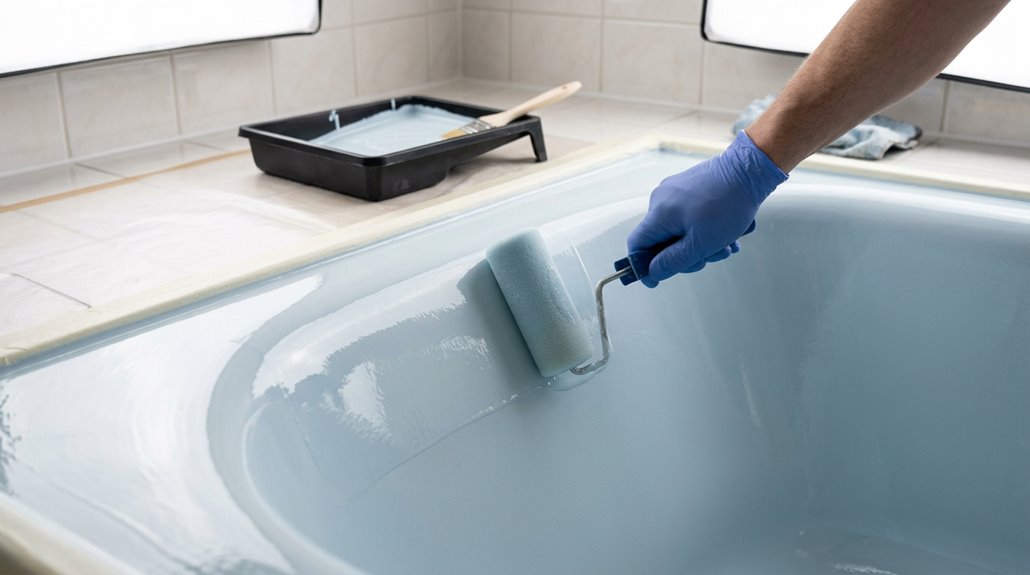
Reglazing your fiberglass tub is not a weekend project; it requires meticulous preparation. Start by stripping old adhesive, then acid-etch and sand the surface to create texture. After that, apply epoxy base coats followed by a polyurethane topcoat using an HVLP sprayer. It is crucial to respect the 48–72 hour cure window and avoid using your tub for a full week. Neglecting this step can result in the finish peeling within months, costing you around $500. When done correctly, you can expect 10–15 years of glossy durability.
Is Your Fiberglass Tub a Good Candidate for Reglazing?
Prep determines everything. You’ll need thorough cleaning, degreasing, sanding, or etching, removing silicone and adhesive completely. Get that foundation right, and reglazing becomes a cost-effective option instead of costly replacement.

TUB & TILE REFINISHING KIT: Renews ceramic tile, porcelain, fiberglass, acrylic, cast iron, and steel tubs and sinks without costly replacement.

Instantly Restore Glossy White Tubs Like New: Flawlessly cover ugly chips, cracks, holes, scratches, dents, peel and rust with a smooth glossy white finish that blends into tubs, sinks, showers and tile surfaces for seamless-looking repairs

Waterproof and very firm after curing - Fiberglass Repair Kit can be used to repair chips, scratches, dents, patch, worn, holes etc. Apply to fiberglass bathtub, acrylic bathtub, ceramic bathtub, enamel bathtub, cast iron bathtub, porcelain sink, ceramic tile, toilet, and cultured marble.
What Happens During Professional Bathtub Reglazing?
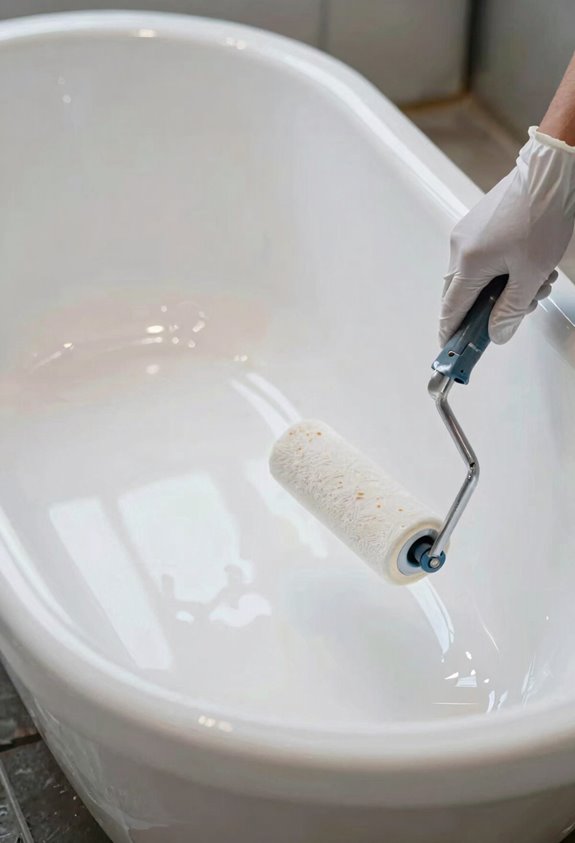
What accounts for the costs associated with professional reglazing? The meticulous reglazing process distinguishes experts from amateurs. Here’s what happens in your bathroom:
| Stage | What I’m Doing | Why It Matters |
|---|---|---|
| Prep | Cleaning, degreasing, etching | Removes buildup; ensures adhesion |
| Coating | Epoxy base + polyurethane topcoat | Maximizes durability and stain resistance |
| Application | HVLP spray technique | Creates smooth, even finish |
| Curing time | 48–72 hours minimum | Critical for hardness and longevity |
| Final | Quality inspection | Guarantees your investment |
Professionals do not rush this process. They adhere to the curing time; skipping it can void your warranty. Many DIY attempts fail due to impatience. This is why I recommend professionals who offer 5 to 10-year warranties. Your fiberglass bathtubs deserve that level of commitment.

TUB & TILE REFINISHING: Renews the appearance of tubs, sinks, showers, and ceramic tile with a smooth, glossy finish.

APPLIANCE REFINISHING: Renews the exterior of refrigerators, dishwashers, laundry machines, and other indoor metal surfaces.

SMALL CHIP & SCRATCH REPAIR: Repairs minor chips, scratches, dents, and defects on tubs, sinks, toilets, and tile; not for refinishing an entire surface.
Preparation: The Foundation of a Lasting Finish
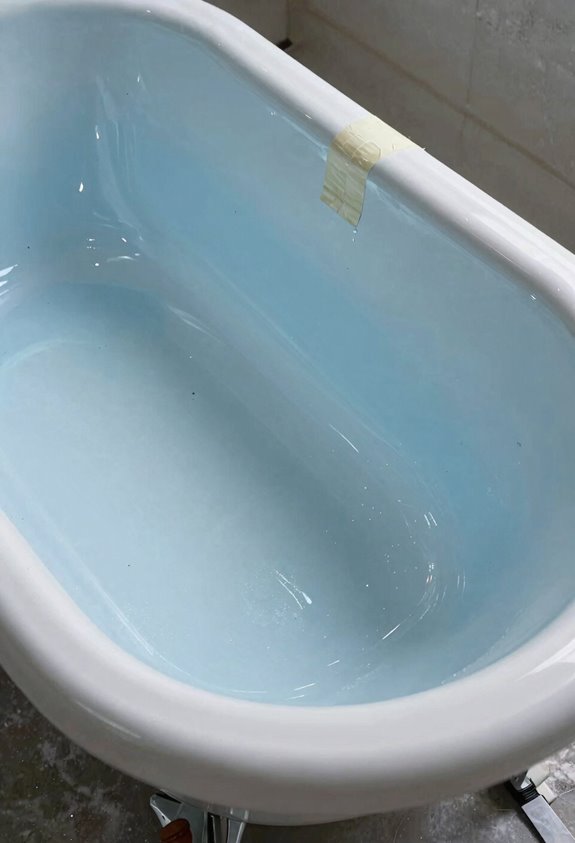
I’ve made mistakes in reglazing jobs by skipping prep work, and it leads to unnecessary complications. There are three critical steps: aggressive cleaning to remove silicone and mineral buildup, acid etching followed by sanding to create the textured surface needed for proper bonding, and a thorough inspection that determines whether a job will last decades or peel within two years. The preparation work is essential; if you focus on getting this foundation right, the rest of the process will go smoothly.

PROTECT WOOD SURFACES – Minwax Polyurethane Wood Finish protects interior projects like woodwork, furniture, floors and cabinets. The oil-based, clear top coat is one of the most durable coatings for wood protection against scratches, spills and more.
Protects indoor wood surfaces such as furniture, windows, cabinets, trim and more

3X‑THICK ONE‑COAT PROTECTION: Formulated to be three times thicker than Varathane Ultimate Water‑Based Spar Urethane, allowing excellent durability and project completion up to three times faster in just one coat
Cleaning and Surface Degreasing
Why do so many DIYers skip the cleaning step and wonder why their refinish job fails within months? I’ve seen it happen repeatedly; folks rush straight to coating without proper surface cleaning. This is a mistake you can avoid.
Here’s what I do for bulletproof adhesion preparation:
- Remove silicone caulk, old adhesive, and mineral deposits completely.
- Scrub away loose fiberglass and debris with a stiff brush.
- Degrease the entire tub thoroughly using appropriate cleaners.
- Inspect for rust spots and address them immediately.
Your tub refinishing success hinges entirely on this foundation. I’m talking about creating a genuinely clean surface—not just one that looks acceptable. When you skip degreasing, you are undermining your own project. Invest time here; your refinish will yield better results.
Etching and Sanding Steps
Now that your tub is clean, you’re ready for the essential step of etching and sanding. This process is crucial for achieving a durable finish.
First, I apply an acid-bearing etching solution to break down the old glaze. This preparation is critical because it improves adhesion and prevents the new finish from peeling.
Next comes sanding. I use fine-grit sandpaper to remove rust and dust while creating texture. This textured surface provides a better grip for the coating, acting like tiny anchors for bonding.
When I’m finished, the clean surface indicates everything is ready. Proper preparation is the foundation of a lasting finish.
Inspection for Readiness
How can you tell if your tub is ready for a fresh coating? Skipping this step can lead to wasted money on a project that won’t succeed.
Here’s what I check before moving forward:
- Sparkle test – I run my hand across the surface; it should feel smooth and slightly textured, never slick.
- No residue – I wipe with a clean cloth; nothing should transfer onto it.
- Visual inspection – I look for any remaining silicone, adhesives, or mineral deposits hiding in corners.
- Dry surface – I wait until everything is completely moisture-free.
This inspection phase determines whether your fiberglass preparation supports adhesion. Although it may feel tedious, proper preparation prevents the disappointment of a new finish peeling away. The longevity of your bathtub depends on this critical moment.
Applying the Epoxy Base and Topcoat System
I will guide you through the coating process, where many DIYers either succeed or see their investment peel away. We will start with the critical epoxy base layer, then move into topcoat selection, and finally cover the curing timeline that can determine the success of your project.

STEP 1 SURFACE PREP — NOT A PAINT OR COATING: EZ-Etch is a liquid etching solution used before refinishing. It does not change your tub or tile's color or finish and won't resurface on its own — a Bathworks refinishing kit (sold separately) is required to complete the job.

CONCRETE: Cleaning, degreasing and profiling the surface to prepare it for coating, staining or sealing.
Epoxy Base Layer Application
Why skip the epoxy base? I’ve seen folks try, and it’s a mistake that can lead to significant issues. Here’s what I’ve learned about getting this foundational layer right:
- Prime the surface thoroughly. Clean fiberglass won’t bond to anything without proper preparation.
- Apply thin, even coats. I use my HVLP sprayer at controlled pressure to avoid runs and drips.
- Let adhesion cure properly. Rushing between coats undermines the integrity of your multi-coat system.
- Check bonding compatibility. Mismatched epoxy and topcoat systems peel like sunburned skin.
The epoxy base layer is crucial. It serves as your adhesion workhorse, holding that tough topcoat in place for years. I don’t skimp here. The first 48–72 hours are critical for a strong bond.
Topcoat Selection And Coverage
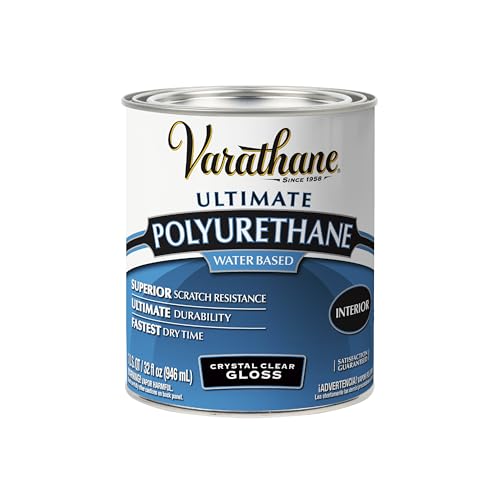
Once the epoxy base has cured completely, you can proceed to the topcoat, which is where the significant improvements occur. Your choice of polyurethane formulation is crucial. You need to consider wear resistance, stain resistance, and the tactile feel you will experience daily. I use an HVLP sprayer for precision; it is essential for achieving even coverage without bubbles or runs. Apply thin, multiple coats instead of one thick one. This is a key practice that can prevent future issues. The durability of your topcoat depends entirely on proper curing times between applications. If you rush this step, you risk seeing your hard work peel away within months. Follow the necessary steps for the best outcome.
Curing Time And Conditions
- Maintain proper ventilation – crack windows, run exhaust fans constantly.
- Control humidity/temperature – keep it between 50–85°F and moderate moisture levels.
- Resist the urge to test it – do not touch it before day three.
- Monitor environmental conditions – fluctuations cause bubbles and delamination.
The epoxy cure time is crucial. Rushing it will lead to premature failure. Finish failures often stem from moisture exposure or temperature swings. Following these guidelines will ensure that your gloss remains intact for years.
How Long Does a Reglazed Fiberglass Tub Last?
How long does a reglazed tub actually last? It depends on whether you’re hiring a professional or doing it yourself. Professional reglazing jobs can last 10 to 15 years, sometimes exceeding 20 years if the preparation is done well and maintenance is consistent. My DIY attempts typically lasted 2 to 5 years before I noticed peeling or cracking. The longevity of your fiberglass bathtub’s reglazing relies on three main factors: thorough surface preparation, proper curing time, and gentle treatment afterward. Neglecting maintenance can lead to disappointing results. Investing in the reglazing process will yield years of good performance.
Reglazing vs. Replacement: When to Choose Each
Should you reglaze or replace? It depends entirely on your tub’s structural condition. Here’s how to think through it:
- Cosmetic issues only → Reglaze. You’ll save roughly 75% compared to replacement.
- Structurally sound → Reglazing cost runs $350–$600; replacement suitability is low.
- Major damage present → Replace. Rust-through, large cracks, or movement necessitate it.
- Long-term durability matters → Reglaze lasts 10–15 years if done professionally.
If your tub looks tired but feels solid, reglazing is a practical choice. You can avoid the headaches of demolition and plumbing work. However, if there are structural concerns—such as real damage rather than just surface grime—replacement is the more sensible option. Your decision should be based on the actual condition beneath that worn finish.
DIY Reglazing Kits vs. Professional Work
Once you’ve decided that reglazing is the right option for your tub, the next question is whether to tackle it yourself or hire professionals.
Both approaches can yield successful results, but they require different levels of commitment. Here’s a breakdown of what you are really choosing between:
| Factor | DIY Reglazing | Professional Reglazing |
|---|---|---|
| Upfront Cost | $40–$150 | Higher investment |
| Durability & Warranty | Unpredictable; no warranty | 10–15 years; 5–10 year warranty |
| Cure Time | Extended; risk of mishaps | 48–72 hours; guaranteed |
| Finish Quality | Variable results possible | Expert-level consistency |
DIY reglazing requires careful attention; one mistake can compromise the entire project. Choosing professional reglazing means investing in expertise, durability, and reliable outcomes. If you prioritize long-lasting results, opting for professionals is advisable.
Cost Breakdown: What You’ll Pay in 2026
Professional reglazing costs about $480 nationally in 2026, with a typical range of $350–$600 depending on your tub’s material and required repairs. DIY kits are available for $40–$150 upfront, but many have experienced poor results, so these are only advisable if you are skilled and patient. Location can increase costs by 15–25% in metropolitan areas. Additionally, factors like combo tub-showers or complex ventilation requirements will increase expenses compared to a standard standalone bathtub.
National Average Pricing Today
How much should you expect to spend on a bathtub reglaze? The national average price is around $480.
- Standard reglazing projects fall within the $350–$600 range.
- DIY kits are available for $40–$150.
- Price variables include tub material, repairs needed, and combo units.
- You could save up to 75% compared to replacement.
The cost of reglazing depends on your specific situation. The material of your tub—whether fiberglass, acrylic, or cast iron—affects pricing. If repairs are necessary, expect an increase in costs. For tub-shower combos, additional labor can impact the total. Understanding these variables can help you negotiate with professionals or determine if a DIY approach is suitable for your bathroom.
DIY Versus Professional Investment
Knowing the price tag is only half the battle. I’ve seen DIY kits fail for those who underestimated the effort involved. You might spend $40–$150 upfront on a DIY reglazing kit, which can be tempting. However, that fiberglass bathtub finish often lasts only 2–5 years. In contrast, professional reglazing costs around $480 nationally, typically ranging from $350–$600, and provides 10–15 years of durability with proper care. The cost difference for professional services is justified by the longer-lasting results. Unless you are genuinely committed to ventilation, prep work, and curing time, choosing between DIY and professional isn’t really a choice—it’s an investment in a reliable outcome. Consider this carefully before deciding.
Factors Affecting Final Costs
What determines whether you’ll pay $350 or $600 for that bathtub refinish? It’s not one-size-fits-all pricing.
Here are the factors that affect your final cost:
- Tub material and condition – Fiberglass damage like chips or cracks costs more to repair before reglazing.
- Combo versus standalone – Tub-shower combos require extra labor and materials.
- Ventilation setup – Poor airflow necessitates additional protection, increasing labor time.
- Your location – Metro areas charge 15–25% more due to local labor rates.
Budget for the higher end if your fiberglass has any damage; those repairs are essential. Location influences pricing as well. The cost may vary significantly depending on where you live. Consider these factors before making a commitment.
The First 7 Days: Essential Aftercare and Do’s/Don’ts
You’ve just finished the most critical step; now comes the part where many people compromise their beautiful new finish. During reglazing aftercare, it’s essential to keep your hands off for a minimum of 48 to 72 hours. Your curing time relies heavily on ventilation, so open those windows wide. Avoid harsh cleaners or abrasive scrubs in the first week; I learned this through experience. Use only mild soap and warm water with soft cloths. Skip suction-cup mats and rubber items entirely, as they trap moisture and can cause issues. Monitor your caulk and drain area closely; catching any chipping early is crucial. I check mine daily because moisture problems can escalate quickly. This aftercare phase distinguishes those who regret their investment from those who appreciate their decision.

No dangerous acids or fumes Won't harm grass or plants Intended for use on bare concrete surfaces only Highly concentrated formula makes 2 gallons of etching solution. Covers...
Common Reglazing Failures and How to Prevent Them
Because I’ve watched perfectly executed reglazing jobs fail within months, the difference between a lasting finish and a disappointing one comes down to preventing a handful of critical mistakes.
I’ve learned these failures the hard way:
- Inadequate prep work – Silicone residue or debris destroys adhesion faster than you’d think.
- Applying coatings too thick – Bubbles, cracks, and chipping follow immediately.
- Recoating over failing finishes – Stripping properly isn’t optional; it’s essential.
- Rushing the cure – Soft topcoats mean dents and scratches can ruin your reglazed tub within days.
My non-negotiable approach is to thoroughly sand, use compatible epoxy systems throughout, focus on edge bonding near drains, and always ensure proper ventilation. Your tub deserves that level of commitment.
Can You Reglaze a Fiberglass Tub More Than Once?
Professionals typically cap fiberglass tub refinish work at one or two applications max. Thick layers peel, crack, and fail over time.
| Reglaze Attempt | Adhesion Risk | Prep Requirements | Typical Lifespan |
|---|---|---|---|
| First | Low | Standard cleaning | 10-15 years |
| Second | Moderate | Strip old coating | 10-15 years |
| Third+ | High | Full removal needed | Unpredictable |
If you’re considering a second coat, expect to strip that old layer completely to achieve a bare surface. The cost and complexity increase significantly. Some refinishers refuse to work beyond two coatings due to these risks.
Getting a Quote and Choosing the Right Professional
How can you determine if you’re getting a fair deal or if a contractor is inflating their invoice?
I’ve learned this through experience. When I request a refinishing quote, I don’t simply accept it. Here’s what distinguishes serious professionals from those who are not:
- They assess tub repairs upfront—chips, rust, caulk issues.
- They explain ventilation and protection needs clearly.
- They quote national averages ($350–$600 in 2026).
- They confirm warranty terms explicitly before work starts.
Choosing the right professional is crucial. I reach out to multiple surface restoration experts within one business day of requesting quotes. They will provide honest advice on whether DIY or professional refinishing is best for your situation. This level of transparency indicates that you have found someone reliable. Do not settle for vague estimates; clarity is essential.