
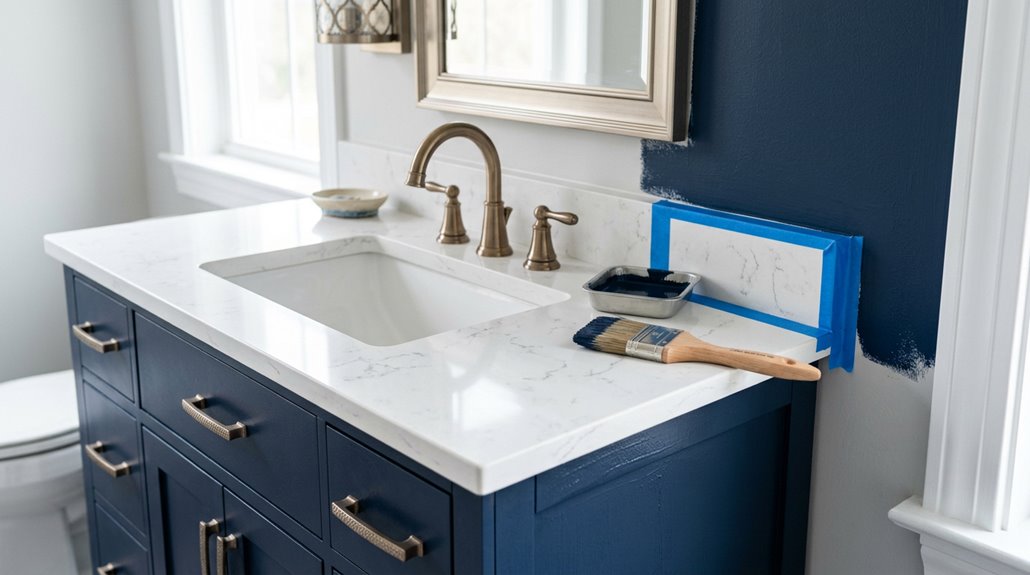
I transformed my builder-grade bathroom vanity into a stunning focal point by following seven essential steps. First, I removed all doors, drawers, and hardware, storing screws in labeled containers.
Then, I thoroughly cleaned and degreased everything, sanded with 220-grit paper, and filled any holes with wood filler. I applied a moisture-resistant bonding primer, followed by two coats of cabinet enamel, lightly sanding between coats.
Finally, I waited weeks for full cure before reassembling the hardware. The patience paid off, as my vanity now looks professionally finished. Each step involves specific techniques that enhance the overall result.
Remove Doors, Drawers, and Hardware
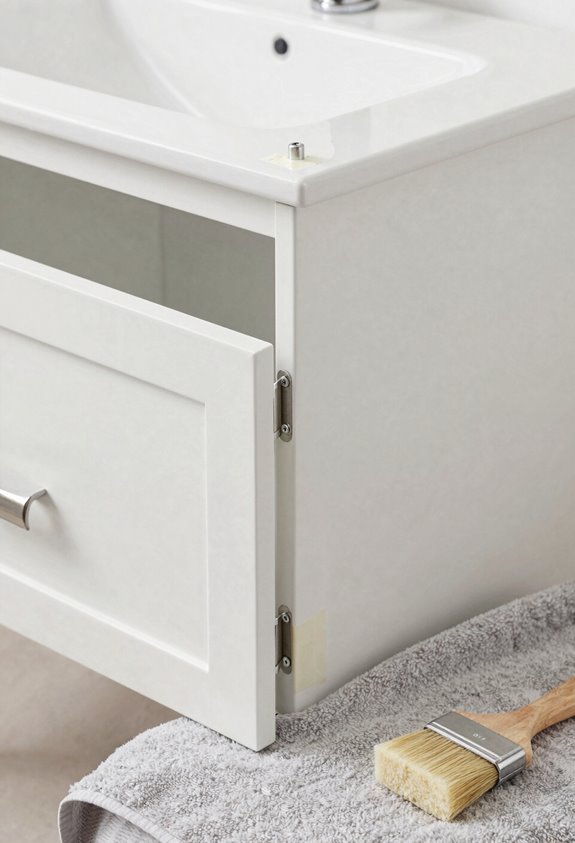
Before you think about cracking open that paint can, you need to strip your vanity down to its skeleton. I remove every cabinet door, drawer, and false front along with their hardware. Unscrew those hinges, knobs, and pulls carefully, storing each screw in a labeled container. Losing hardware halfway through is a nightmare.
Organization is essential. I photograph each component’s original location and label pieces for reassembly. This extra five minutes of work saves hours of frustration later.
Keep everything separated and preserved until the painting is completely finished. Only after the paint fully cures do I reattach doors, drawers, and hardware to their original spots. That patience pays off.

CABINET TRANSFORMATION: Refresh outdated cabinets, vanities, furniture and trim with rich Pure White color and a smooth semi-gloss finish
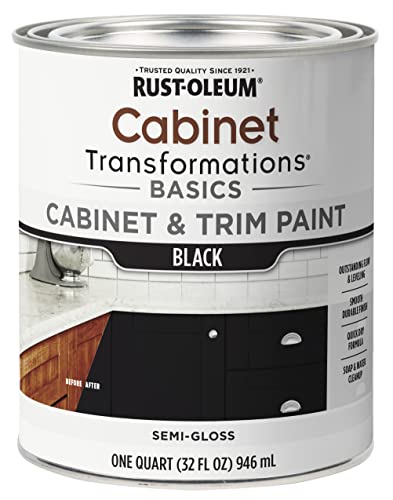
CABINET TRANSFORMATION: Refresh outdated cabinets, vanities, furniture and trim with rich Black color and a smooth semi-gloss finish

CABINET TRANSFORMATION: Refresh outdated cabinets, vanities, furniture and trim with rich Dark Gray color and a smooth semi-gloss finish
Clean and Degrease All Surfaces
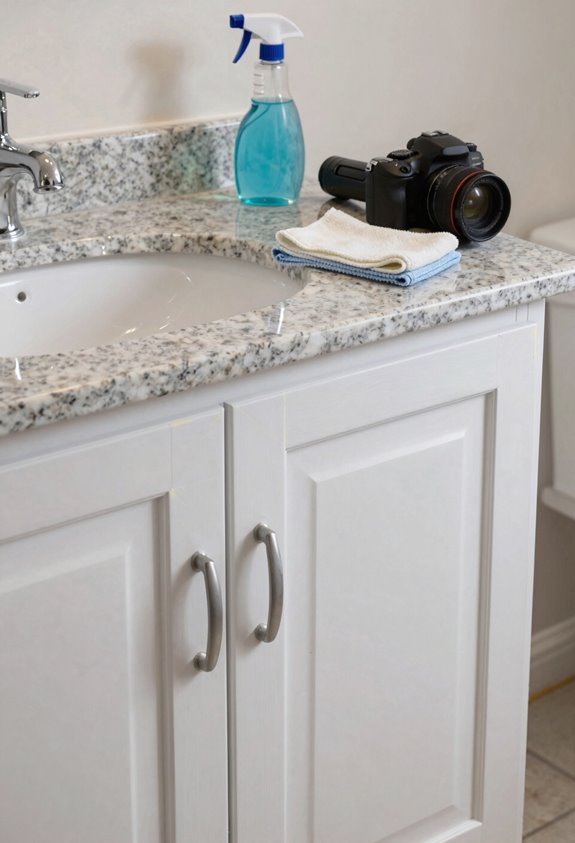
Why do people skip this step? It seems tedious. Skipping preparation is where bathroom vanity painting projects fail.
Here’s what I do to ensure pristine results:
- Clean with a TSP substitute, dampening cloth, gloves, and eye protection to remove hidden dirt.
- Rinse twice with fresh water, eliminating residue from soap, hairspray, and lotion.
- Fill holes and scratches with white wood filler, sanding smooth after drying.
- Sand all surfaces with 220-grit sandpaper for optimal adhesion.
- Wipe with a microfibre cloth to eliminate dust.
I then apply liquid deglosser before primer; this step genuinely transforms your finish. Degrease your bathroom vanity thoroughly. Proper preparation makes primer stick better and results in a professional-quality paint job. The effort pays off.
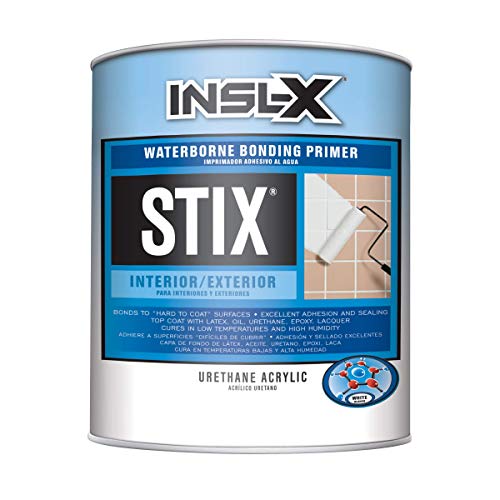
Premium-quality, acrylic-urethane bonding primer-sealer with unparalleled adhesion to the most challenging surfaces, including glossy tile, PVC, vinyl, plastic, glass, glazed block, glossy paint, pre-coated siding, fiberglass, and galvanized metals.

VERSATILE APPLICATIONS: Ideal for use as wall paint, cabinet paint, or house paint. Suitable for both interior and exterior surfaces, providing a bright white finish for any project.

Exterior/interior use, great for galvanized steel, wrought iron, railings, furniture, laminate, PVC, porcelain, masonry, glazed brick and more
Prep Surfaces: Sand, Fill, and Wipe
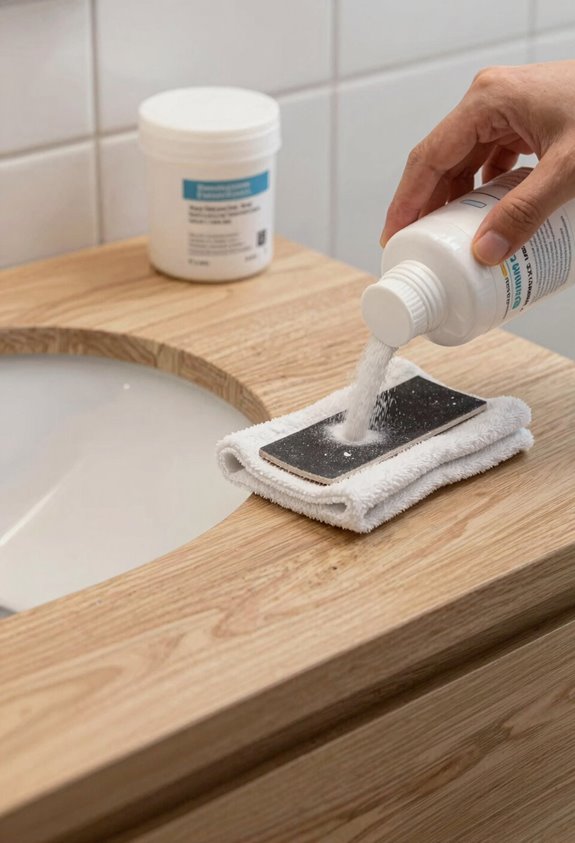
Once you’ve degreased everything, this is where I separate the amateurs from the pros. I sand finished vanities with 150-grit to kill the gloss, then switch to 220-grit for a light, even finish following the grain. For unfinished pieces, I use only 220-grit. Next, I patch any holes with wood filler, sand smooth, and repeat until it’s perfect. Sloppy prep can sabotage your paint job. I vacuum thoroughly, wipe everything with a microfiber cloth, and apply a liquid deglosser; this step is essential for primer adhesion. Your vanity deserves this attention. Those extra minutes can prevent repainting issues later.

Prepares Surfaces for Painting Without Sanding Helps remove gloss and dull previously finished surfaces to improve paint adhesion. Ideal for preparing cabinets, trim, doors, and furniture before repainting.
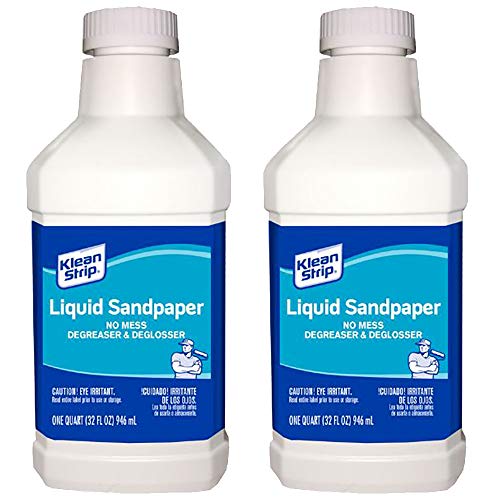
Wipe on cleaner and de-glosser

Ample Quantity: you will receive 3 pieces containing 120 deglosser surface prep wipes in total; This ample supply helps you handle various paint preparation tasks with ease; These degreaser wipes are ready for multiple projects around the house
Apply Your Bonding Primer for Moisture Resistance
This is where I stop cutting corners and invest in the right primer because a bathroom vanity lives in a moisture-rich environment that can damage inferior paint quickly. I choose a bonding primer specifically formulated for moisture resistance. My preferred brands include Sherwin-Williams Extreme Bond, STIX, or INSL-X Stix; they are effective solutions for vanity surfaces.
Here’s my application strategy:
- Use a brush to seal edges and detailed areas carefully.
- Apply a roller for flat surfaces to ensure even coverage.
- Prime all surfaces thoroughly; do not skimp.
- Allow 2–3 hours drying time per product instructions.
- Lightly sand between coats for superior adhesion.
I apply two primer coats when transitioning from dark to light colors. This investment protects your vanity long-term, preventing peeling and moisture damage that would require you to redo this project sooner than desired.

Gorilla tough: Gorilla Wood Filler is the go-to product for strong water resistant repairs on cracks, gouges and holes

DAP plastic wood filler looks and acts like real wood; ideal for corners and vertical surfaces on interior or exterior wood

Quick Hole Repair: White wood fill stick fills nail holes in baseboards and cabinet dings. Fill & scrape for a smooth white finish—restoring boards, walls & painted surfaces. A bit of elbow grease may be needed, but it's still a renter-friendly move-out essential.
Apply Your First Coat of Cabinet Enamel
I’m ready to apply my first coat of Sherwin-Williams Emerald Urethane Enamel in semi-gloss. I will take my time with this step, using a brush for edges and a small roller on flat surfaces. This method yields professional results without guesswork. For best results, lay your doors and drawers flat to prevent drips and ensure even coverage. After the primer dries completely according to the instructions, I will lightly sand between coats for a smooth finish. Since I’m making a dark-to-light color change, I will apply a second coat once this one cures. Although the week-long curing time requires patience, it is essential for durability and prevents yellowing.

HEAVY-DUTY MULTI-PURPOSE CLEANER - Our powdered trisodium phosphate cleaner is a non-sudsing compound that excels in heavy-duty cleaning. Expertly crafted to conquer the toughest jobs, removing stubborn grease, smoke, soot, and chalked paint from almost any type of walls & floors

20 YEARS OF NORTH-AMERICAN EXCELLENCE: The preferred choice of professional woodworkers and DIYers in North America. SamaN also promotes greener products.

Removes Heavy Dirt, Grease, Grime, Smoke And Soot Stains
Lightly Sand and Apply Your Second Enamel Coat
Skipping the sanding step is where many DIYers often regret their choices. Brush marks do not disappear without attention. I use 220-grit paper or a sanding sponge to lightly smooth the first coat. After that, I wipe everything down with a microfiber cloth or a tack cloth. Even tiny dust particles can affect the finish of the second coat. Once I apply that second coat using the same brush-and-roller method as the first, I can envision the glossy, professional-looking vanity that will make me forget the challenges of painting it myself.

CABINET TRANSFORMATION: Refresh outdated cabinets, vanities, furniture and trim with rich Cadet Gray color and a smooth semi-gloss finish

CABINET TRANSFORMATION: Refresh outdated cabinets, vanities, furniture and trim with rich Espresso color and a smooth semi-gloss finish

Use for a variety of indoor and outdoor project surfaces including wood, metal, plaster, masonry or unglazed ceramic
Light Sanding Technique
Why does everyone skip this step? It feels tedious. Light sanding between coats transforms your finish from amateur to magazine-worthy.
I use 220-grit sandpaper for a gentle scuff that smooths brush marks and preps the surface for your next enamel coat. I’m not removing material; I’m creating tooth for adhesion. After sanding, I vacuum thoroughly and then wipe with my microfiber cloth—twice if needed—to eliminate every dust particle. Those tiny specs will embed in your enamel and ruin everything.
Here’s my non-negotiable routine:
- Use 220-grit exclusively between coats
- Vacuum immediately after sanding
- Wipe with a microfiber cloth or tack cloth
- Re-clean with a damp cloth for stubborn dust
- Allow complete dry time before applying your next coat
This step distinguishes professionals from amateurs.
Second Coat Application
Once your first coat has fully dried, so check that manufacturer timeline, you’re ready for the sanding step that matters. I lightly sand with 220-grit paper until smooth, then wipe away every speck of sanding dust using my microfiber cloth. Skipping this step can ruin the finish.
| Step | Tool | Purpose |
|---|---|---|
| Sand | 220-grit paper | Smooth surface prep |
| Wipe | Microfiber cloth | Remove dust |
| Apply | Brush & roller | Even enamel coat |
Next, I apply my second coat using the same technique: brush the trim edges first, then roll the main surfaces. I strictly adhere to the recommended dry times, as rushing can lead to adhesion problems. Once fully cured, I remove painter’s tape at a 45-degree angle. This is when your vanity will show its true transformation.
Reassemble Hardware and Wait for Full Cure
I’ve learned that rushing hardware reattachment often leads to mistakes in DIY projects. I drill new holes first, matching them precisely to my original locations, and then attach everything once the paint is fully set. Patience is essential; I wait a solid 1–2 days before even considering reinstalling doors and drawers. However, waiting one to two weeks for complete cure helps prevent issues like water rings and sticky finishes later. Those first few weeks require careful attention—spills need immediate cleanup, and your vanity needs gentle handling. The result is a finish that withstands wear and looks great over time.

APPLIANCE REFINISHING: Renews the exterior of refrigerators, dishwashers, laundry machines, and other indoor metal surfaces.

Premium-quality, acrylic-urethane bonding primer-sealer with unparalleled adhesion to the most challenging surfaces, including glossy tile, PVC, vinyl, plastic, glass, glazed block, glossy paint, pre-coated siding, fiberglass, and galvanized metals.

Transform dated countertops: Stone Coat Countertops Bonding Primer & Sealer creates a durable bond on slick surfaces like laminate, tile, granite, quartz, solid surface, and cultured marble, ensuring a strong foundation for epoxy applications.
Hardware Reattachment Process
The moment you’ve been waiting for—putting your vanity back together—requires patience. It’s tempting to rush this part. Waiting 1–2 days after your final coat ensures adequate cure before hardware reattachment. Your bathroom vanity’s reassembly success depends on those labeled doors and drawers you organized earlier. Here’s what I do:
- Wait the full 1–2 days before reinstalling doors and drawers.
- Drill new holes for hardware if needed before reattachment.
- Reattach tilt-out trays and vanity accessories only after paint cures completely.
- Follow your original hardware organization system closely.
- Plan for one to two weeks total cure time with extra care.
Seeing that transformed vanity with fully cured paint and functioning hardware is worth the time invested.
Full Cure Time Patience
Your doors and drawers are back in place, and the hardware is installed. Now comes the part that will test your patience like nothing else. I know you’re eager to use your refreshed bathroom vanity, but waiting for the full cure time is essential. After applying that final coat, you’ll need one to two weeks before you can handle it normally. Yes, weeks. I learned this the hard way; I rushed things at day five and smudged my beautiful finish. During the curing period, avoid handling your vanity beyond gentle use. Clean up spills immediately; do not let anything sit on that surface. Think of these paint and primer instructions as your surface prep for success. Your patience now ensures your vanity’s transformation stays flawless for years.